cPanel 11.32 x3 (2012) end-user series
7. How to enable spam protection in cPanel
This demo assumes you've already logged in to cPanel
Now let's learn how to enable spam protection
1) First, click the Box Trapper icon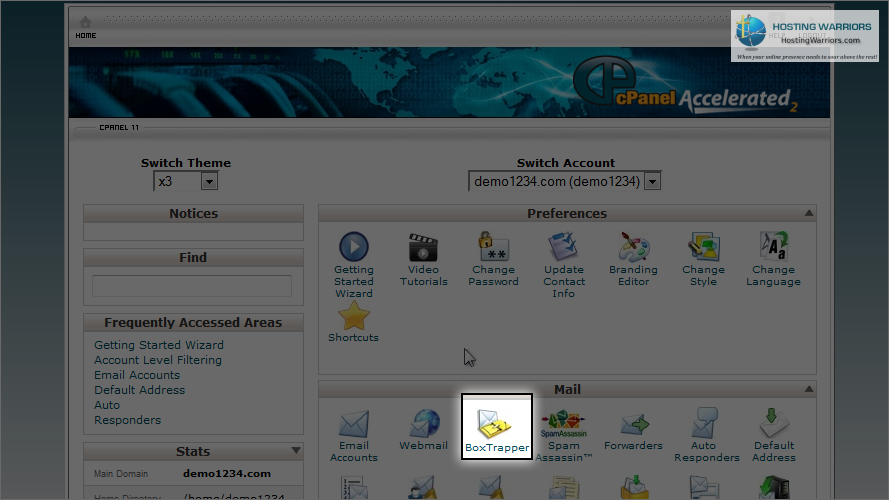
Box Trapper protects your inbox from spam by requiring all email sendings who aren't on your Whitelist, to reply to a verification email before you can receive their mail
2) To enable BoxTrapper for an email address, click Manage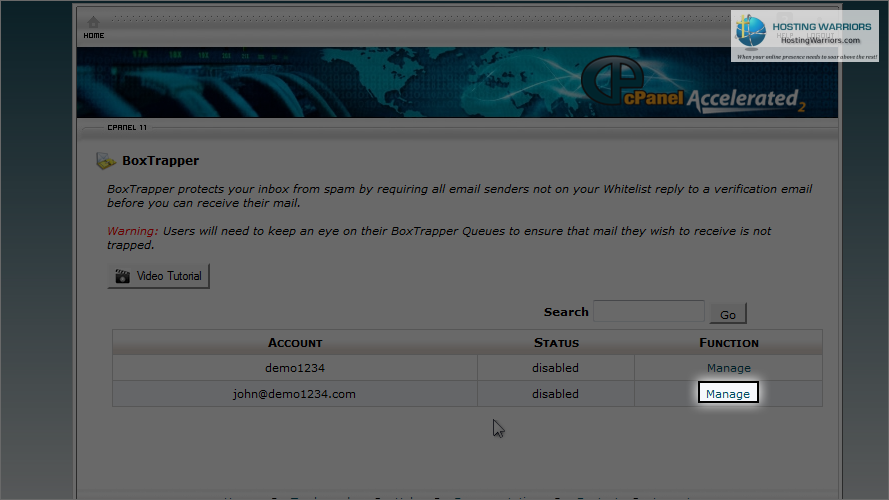
3) Then click Enable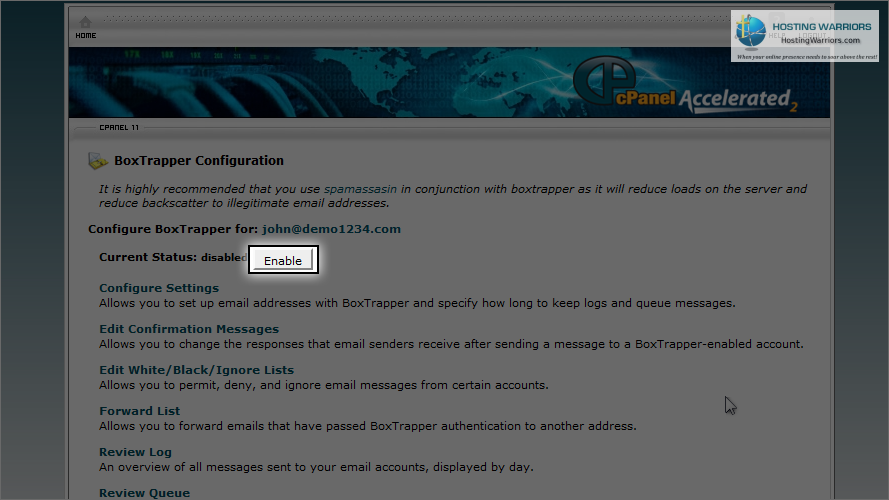
4) BoxTrapper has been enabled for this address. Click Go Back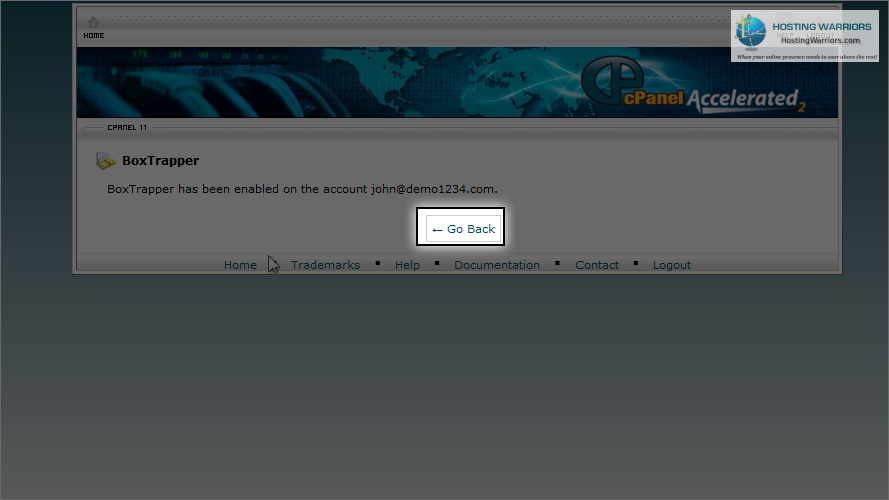
You'll next want to configure your BoxTrapper settings
5) Click Configure Settings
You can set various options here, including auto-whitelisting for addresses you send email to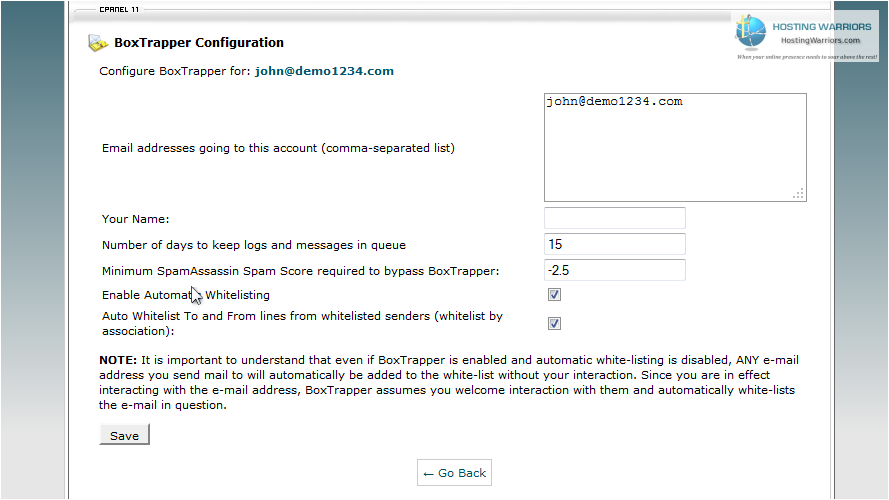
6) Click to Edit Confirmation Messages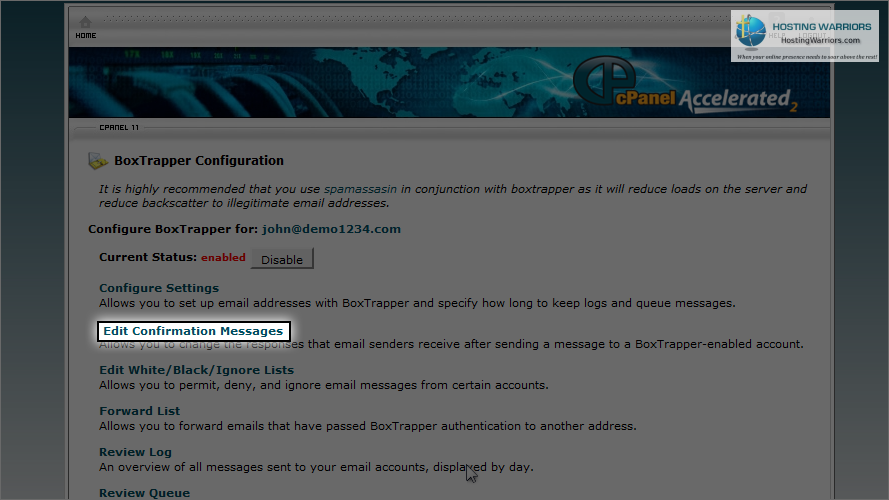
From here you can edit the standard confirmation messages already setup for you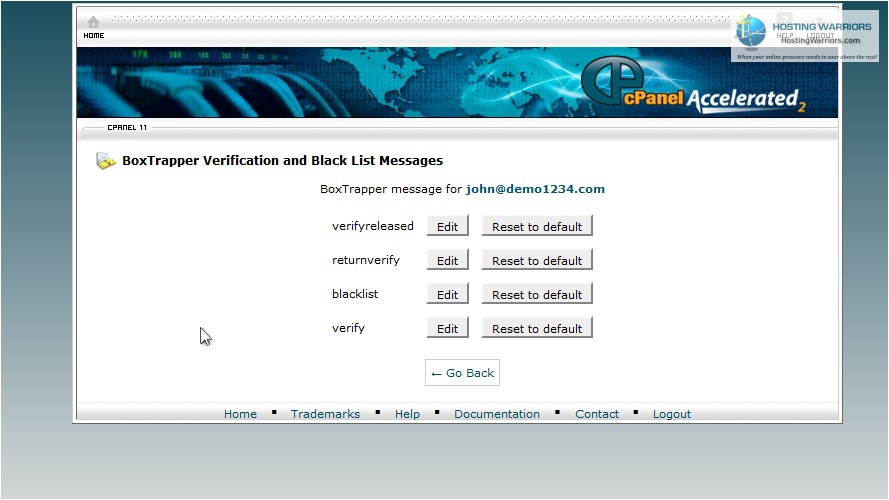
7) Next, click Edit White/Black/Ignore Lists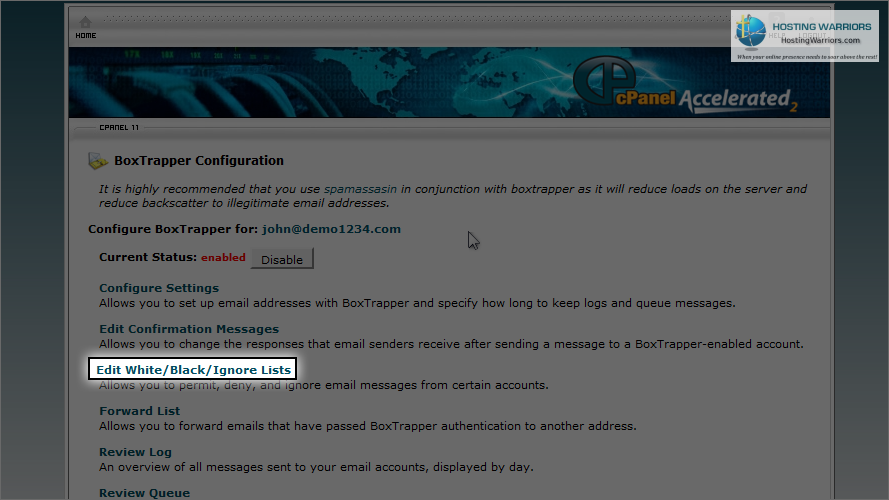
From here you can add addresses to your whitelist, blacklist, and ignore list
Once you have BoxTrapper setup the way you want, you'll notice a huge reduction in spam
Another option for controlling spam is to use SpamAssassin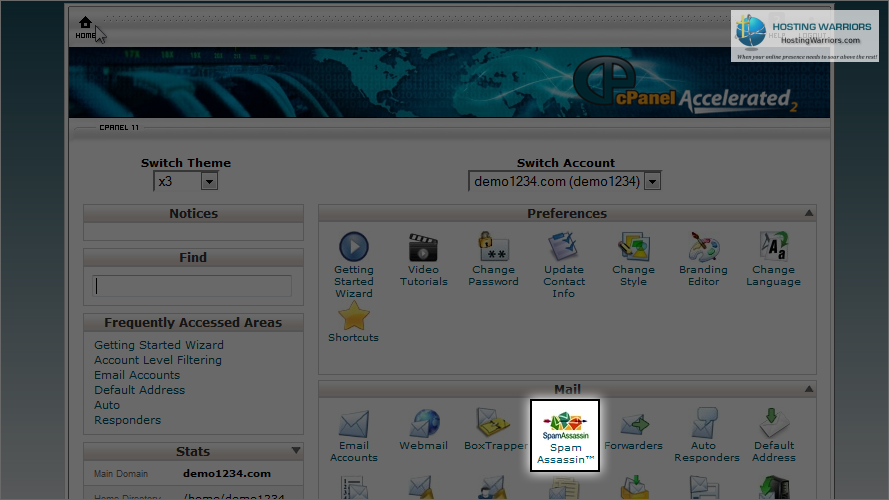
You can use Spam Assassin in conjunction with Box Trapper for maximum spam control, or you can use Box Trapper on its own, or Spam Assassin on its own
8) Click here to enable Spam Assassin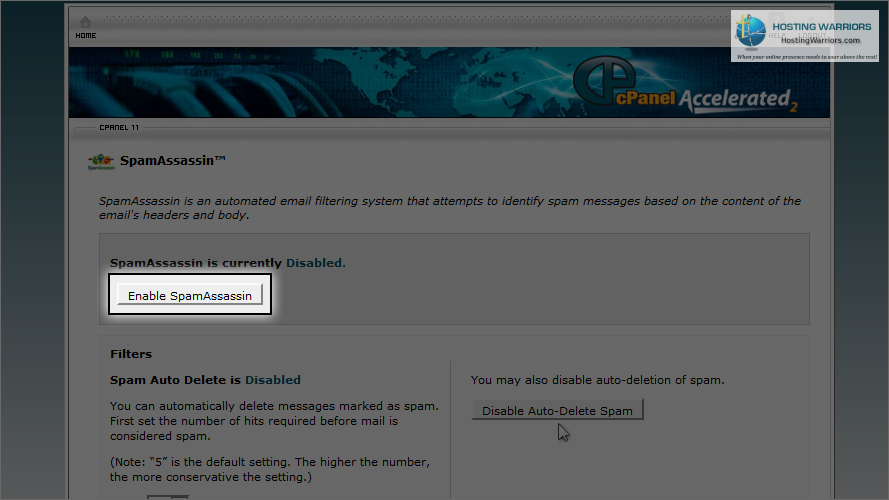
9) Then click Go Back
10) Next you'll want to Configure Spam Assassin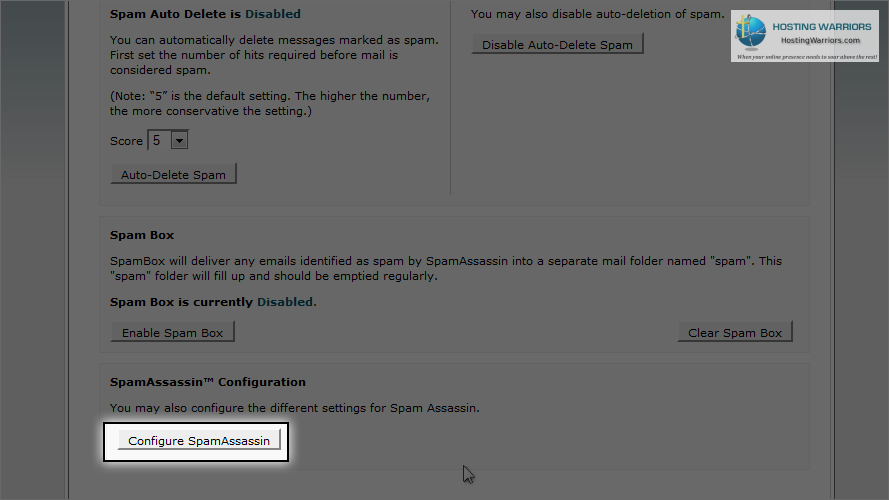
From here you can setup your blacklist with email addresses you KNOW are spam...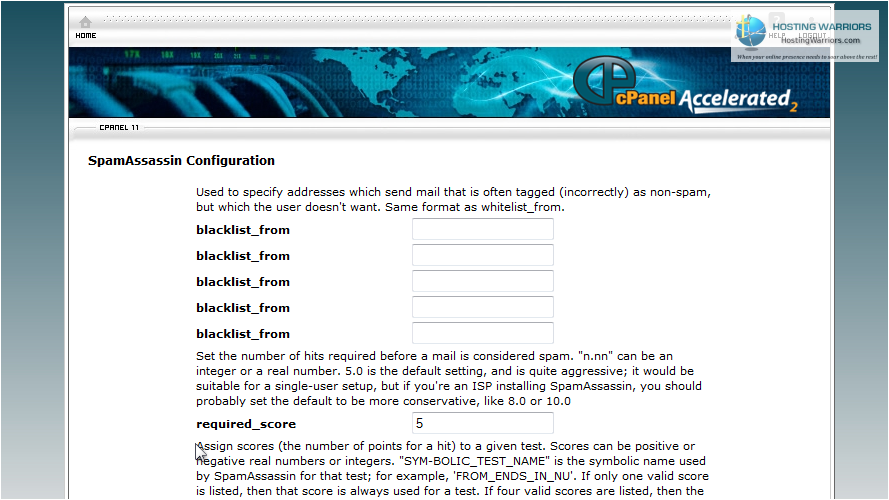
... and can add email addresses to your whitelist... addresses you KNOW are NOT spam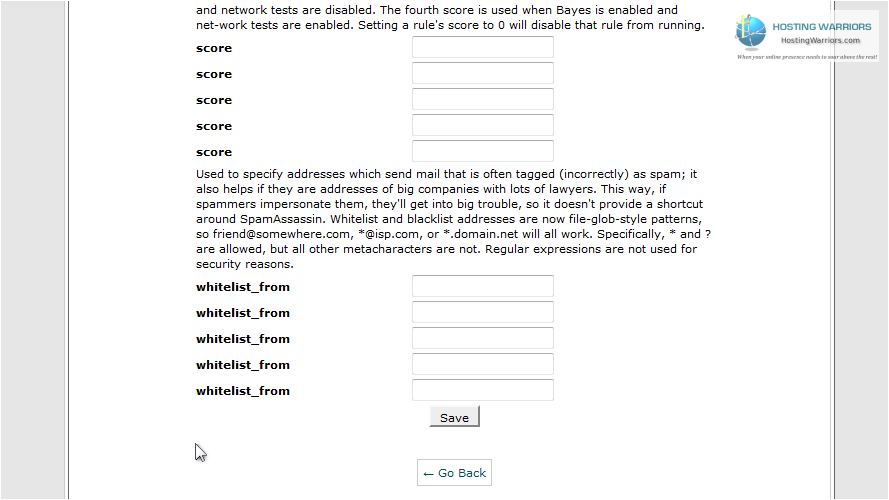
This is the end of the tutorial. You now know how to enable the spam control applications BoxTrapper and Spam Assassin. Remember that you do not have to use both methods... you can choose to use one or the other if you wish. Using both simply provides the maximum protection against spam